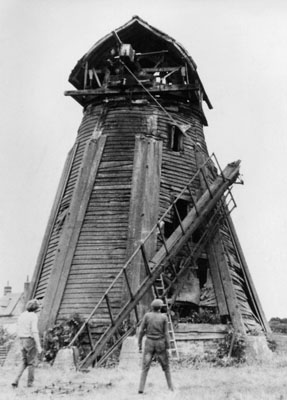
Firstly, the only remaining sail had to be removed.
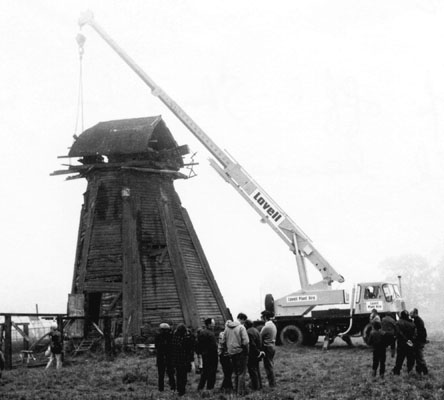
On a very misty day, a crane was used to lift off the 3 parts of the cap.
The restoration was started in 1971. The first 10 years were spent restoring the structure of the mill, that is the body or smock of the mill, and the cap, which holds the sails, and turns on top of the smock to keep the sails facing into the wind.

Firstly, the only remaining sail had to be removed.

On a very misty day, a crane was used to lift off the 3 parts of the cap.
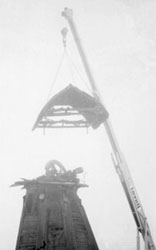
The cap roof is removed.
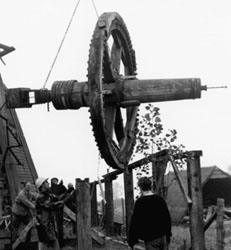
Wind shaft and brake wheel are lowered onto a frame.
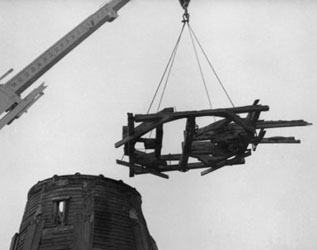
The cap frame is lifted off. It rests on the smock and turns the sails into the wind.
The next work was the complicated operation of pulling the mill back to its proper shape. Christopher Wallis had devised a method of holding the structure together with steel cables, and connecting another to a precise point, and then winching the twisted mill back to an upright position.
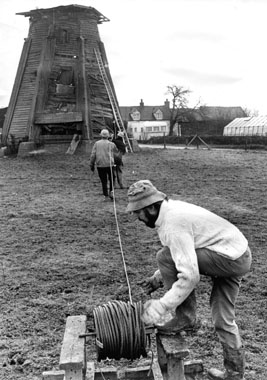
The cable is run from the winch to the mill.
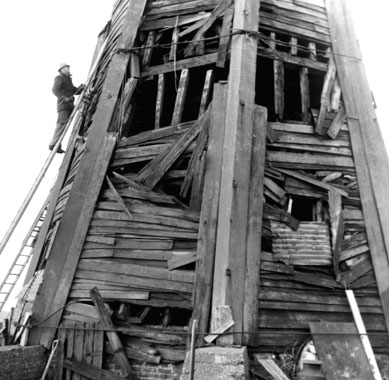
Cables are fitted around the base and top of the mill, and across to the winch.
Once the mill was straight, it was supported by scaffolding inside, then work could start on restoring all the structure of the smock, or body of the mill. It consists of 8 cant or corner posts, supporting a substantial curb at the top, 8 timber frames for the walls, and the four floors inside the mill.
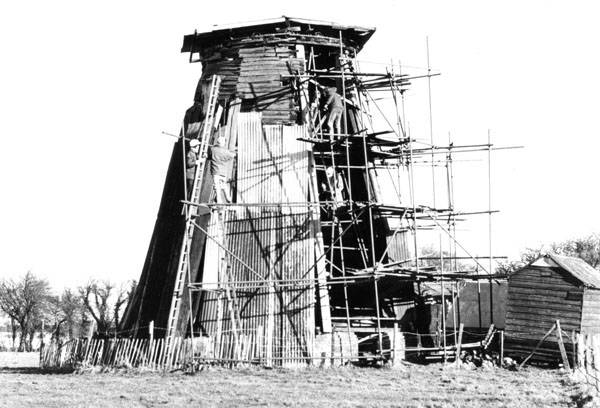
Scaffolding outside enables access to work on two walls together with the cant post in between them. Gradually all eight sides of the windmill were rebuilt, but always to exact drawings of how they were before, and using as much original timber as possible.
Meanwhile, work was carried out on the different parts of the cap, so they would be ready to be lifted back into position once the smock and the curb at the top were ready.
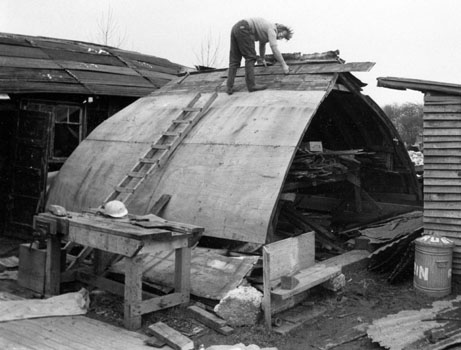
Working on the cap roof, which was ultimately given many different coverings.
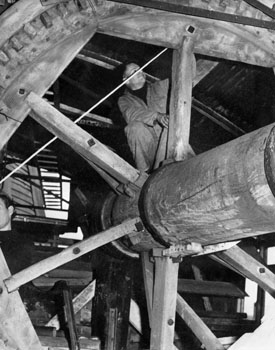
Working on the brake wheel.
The Curb is the substantial timber at the top of a smock or a tower mill which supports the entire weight of the cap, and the sails. It also carries mechanisms to support the cap and make it rotate to face the wind, and the means to keep the cap in position. For all this, the Curb needs to be level and accurate in all dimensions, as well as strong. In the case of Lacey Green Windmill, the Curb supports the cap frame, the wind shaft, brake wheel, the cap roof, the four main sails, and the fan stage with its fantail at the back. These items all add up to around 9½ tons.
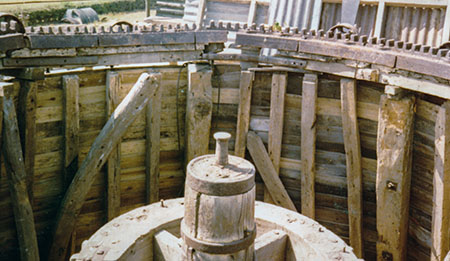
Curb before restoration, but after walls rebuilt.
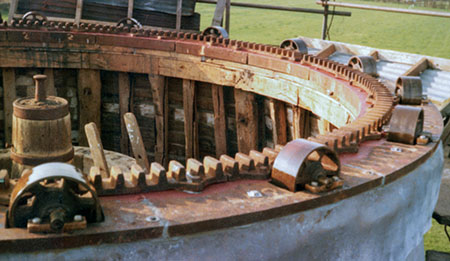
Curb after restoration with re-fitted rack for driving cap around, and cap rollers which support the cap.
Once the timber framework of the walls was complete they were given "interior weatherboarding" with vertical battens outside the boards. A layer of plywood was then fitted around all the 8 walls, adding great strength and rigidity to the structure. Later more vertical battens were added, with a final layer of "exterior weatherboarding" outside.
This method of using plywood to strengthen a smock mill was devised by Christopher Wallis, but not generally approved of by traditional restorers at the time. However, since then it has become the accepted method of restoring and strenghtening smock mill structures.
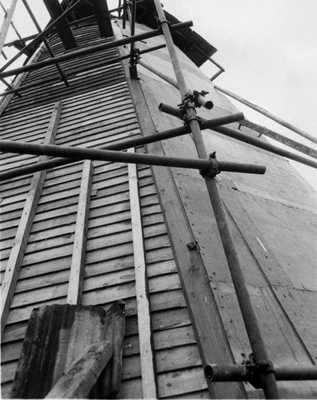
Here the 'interior weatherboarding' can be seen on the left hand wall. The plywood has been added on the right hand wall.
Once the walls were all completed out to the plywood level, and the curb ready to accept the cap, then the cap frame, wind shaft with its brake wheel, and cap roof could be lifted back onto the restored smock.
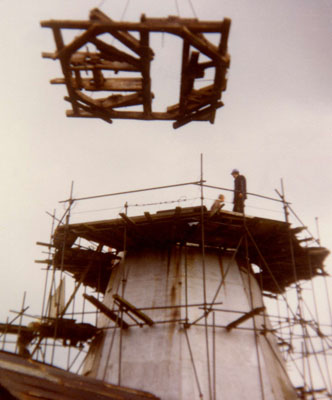
The completed plywood is visible here as the cap frame returns to the mill.
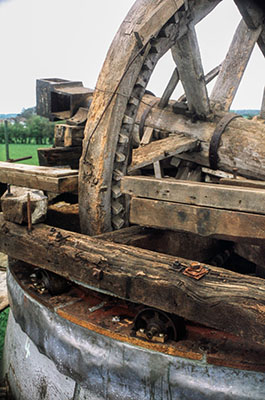
The wind shaft rests in its bearings, and the brake wheel hangs down through the frame.
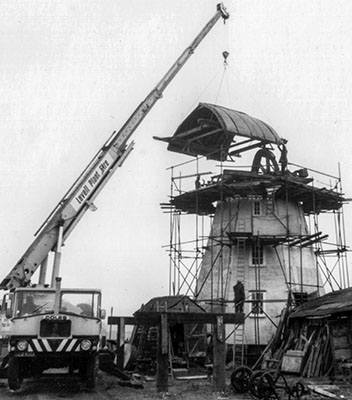
The cap roof is lifted back on, and will be secured to the cap frame, before being fitted with its front and back walls and skirts.
This method of using plywood to strengthen a smock mill was devised by Christopher Wallis, but not generally approved of by traditional restorers at the time. However, since then it has become the accepted method of restoring and strenghtening smock mill structures.
Once the cap was back, then the exterior was given more vertical battens and its layer of "external weatherboarding", with each joint on all 8 corners protected by a custom made flashing. With 61 boards on each of 8 walls, a total of 488 flashings had to be made.
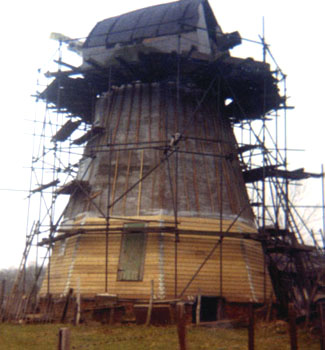
The weatherboarding is gradually fitted.
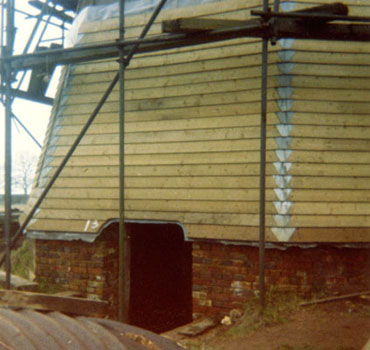
Detail showing the flashings between the ends of each board.
In 1981 the new sails were fitted, which had been made over the previous few years. It had been decided to fit 4 common sails (which need sail cloths) rather than any patent sails, which would have been more expensive, and need more maintenance in future years. Each pair of sails is supported by a large piece of timber called a stock which is fitted through a metal cannister on the end of the wind shaft.
Each sail is very precisely built on on a large timber called a whip. A whip is clamped and bolted onto each end of the two stocks.
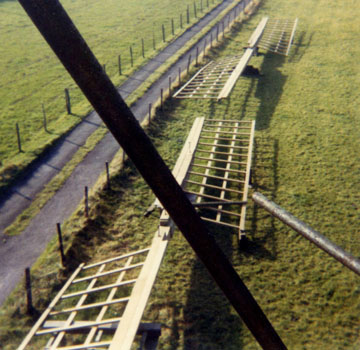
The new sails wait to be fitted.
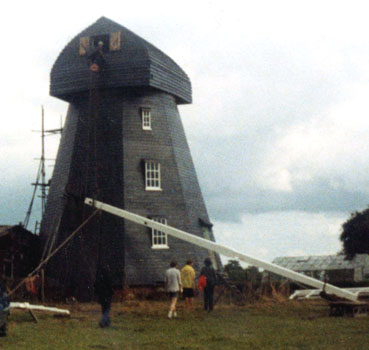
The first new stock is hauled into place.
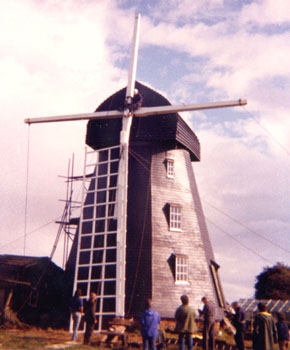
Once the stocks are in place, the sails are fitted.
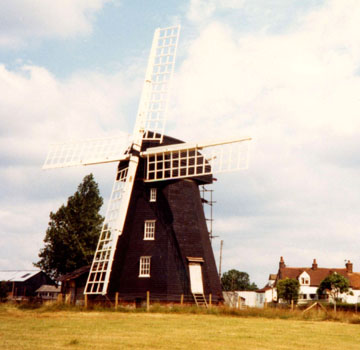
Once again, the windmill has 4 sails.
The next major project was the part of the machinery that was required to work all the time. It has elements inside and outside the windmill, and is the fantail mechanism which was mainly devised by Mike Highfield, using the evidence of what survived from the 19th century machinery. It was brought into action around 1985/86 since when it has automatically turns the cap to ensure the main sails are always facing into the wind. In its working day, that was essential to operate the main sails, but it is also the safest way for a windmill to face at any time during a high wind, particualarly a mill in such an exposed position as Lacey Green Windmill.
Work was then mainly concentrated on the internal machinery within the mill, refining the many parts that turn various grains into many products. Since being restored back to working order, the windmill has milled some wheat into flour on a couple of occasions. However, the Restoration Committee fairly soon made the decision that adding the load of a millstone working was really expecting too much of the old wooden machinery (shafts and wheels) that are probably 350 years old. We therefore decided not to attempt to mill any more, to avoid jeopardising the windmill's machinery.
For some years, on one or two occasions each year we let the wind turn the sails, which makes quite a spectacular sight. However to avoid visitors being able to touch moving machinery in the mill, we disconnected the wallower from the brake wheel. Therefore inside the mill, only the windshaft and brake wheel (visible only on the top floor) were allowed to turn. In 2014 we took the decision not to let the sails freewheel in the wind any more, because particularly with the more erratic weather, it was become more likely that we could lose control in too strong a wind, which could have devastaing consequences for the windmill, and everybody involved.
Further details of the restoration work are in the Booklet on the windmill. Please click here for further details.
Over 15 years, there was one person who was responsible for most of the work done to the windmill, Geoff Giles. He devoted alternate Sundays for at least 6 months every year to working on the mill, in particular painting the smock and the sails. Read more about Geoff and his work by clicking here.
This page ( restoration.php ) was last updated on 18 December 2023.
The Chiltern Society is a Registered Charity No 1085163 and a Company Limited by Guarantee Registered in England and Wales Registration No 4138448.